Bar Guide: A Comprehensive Overview
Navigating the world of bars requires understanding diverse options‚ terminology‚ etiquette‚ and safety measures – a complete guide for enjoyable experiences․
What is a Bar?
A bar is a licensed establishment serving alcoholic beverages for consumption on-site‚ often alongside non-alcoholic drinks and food․ Historically‚ bars evolved from taverns and inns‚ providing refreshment and social gathering spaces․
Today‚ bars represent a diverse spectrum of venues‚ ranging from casual neighborhood pubs to upscale cocktail lounges․ They function as social hubs‚ places for relaxation‚ and entertainment destinations․ The core function remains the provision of beverages‚ but the atmosphere‚ clientele‚ and offerings vary significantly․
Bars are regulated by local and national laws concerning alcohol sales‚ operating hours‚ and responsible service practices‚ ensuring public safety and well-being․
Types of Bars
The bar landscape is incredibly diverse‚ catering to varied tastes and preferences․ Pubs and traditional bars offer a cozy‚ relaxed atmosphere‚ often with a focus on beer and classic pub fare․ Sports bars center around televised sporting events‚ creating an energetic and communal viewing experience․
Cocktail bars specialize in expertly crafted mixed drinks‚ emphasizing presentation and unique flavor combinations․ Wine bars provide a sophisticated setting for enjoying a curated selection of wines․ Dive bars are unpretentious‚ neighborhood establishments known for their affordability and local character․
Hotel bars offer convenience and often a more upscale ambiance for guests and visitors alike․
Pubs & Traditional Bars
Pubs and traditional bars represent the heart of many communities‚ steeped in history and offering a welcoming atmosphere․ Characterized by their cozy interiors‚ often featuring dark wood‚ comfortable seating‚ and a sense of timelessness‚ these establishments prioritize conversation and camaraderie․
The beverage selection typically focuses on a wide range of beers – both local and international – alongside classic spirits and simple cocktails․ Expect hearty‚ comforting food options like pub grub‚ pies‚ and sandwiches․ Live traditional music sessions are common‚ adding to the authentic experience․
These bars are ideal for a relaxed evening with friends‚ a quiet pint‚ and a taste of local culture․
Sports Bars
Sports bars are designed for enthusiastic viewing of athletic events‚ creating a high-energy and communal atmosphere․ Dominated by numerous large-screen televisions broadcasting a variety of games‚ these venues cater to dedicated fans seeking a lively experience․
Expect a casual setting‚ often with ample seating‚ and a menu focused on classic American fare – wings‚ burgers‚ nachos‚ and pizza are staples․ A wide selection of beers‚ particularly domestic and craft brews‚ is typically available․ Sound levels can be high‚ contributing to the excitement․
Sports bars are perfect for gathering with friends to cheer on your favorite team and enjoy a competitive spirit․
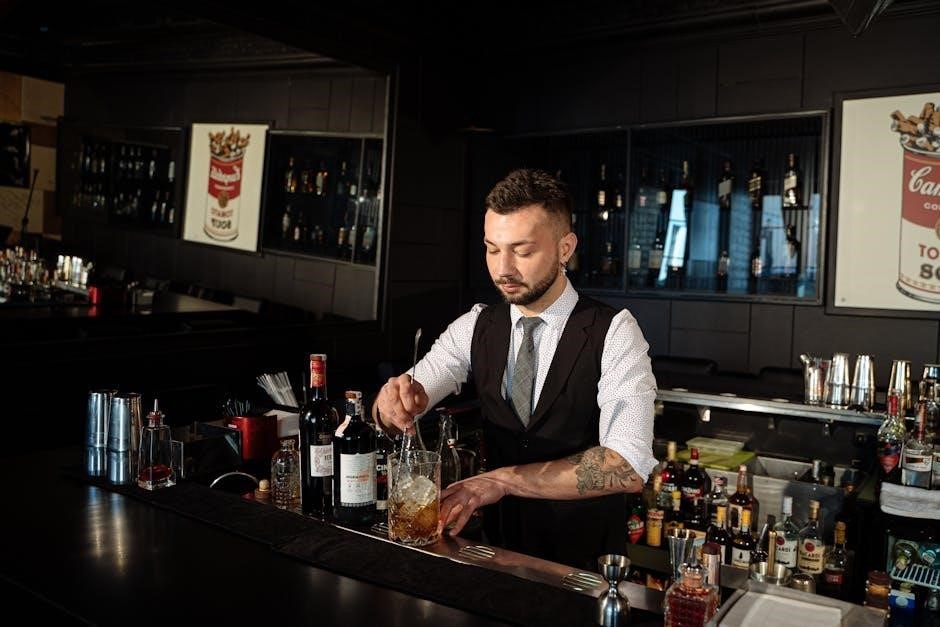
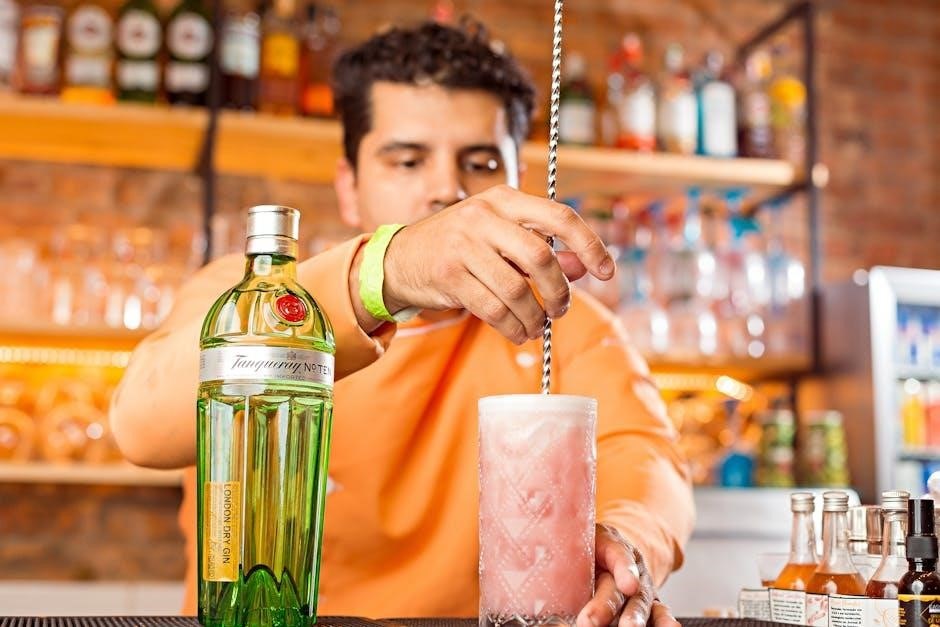
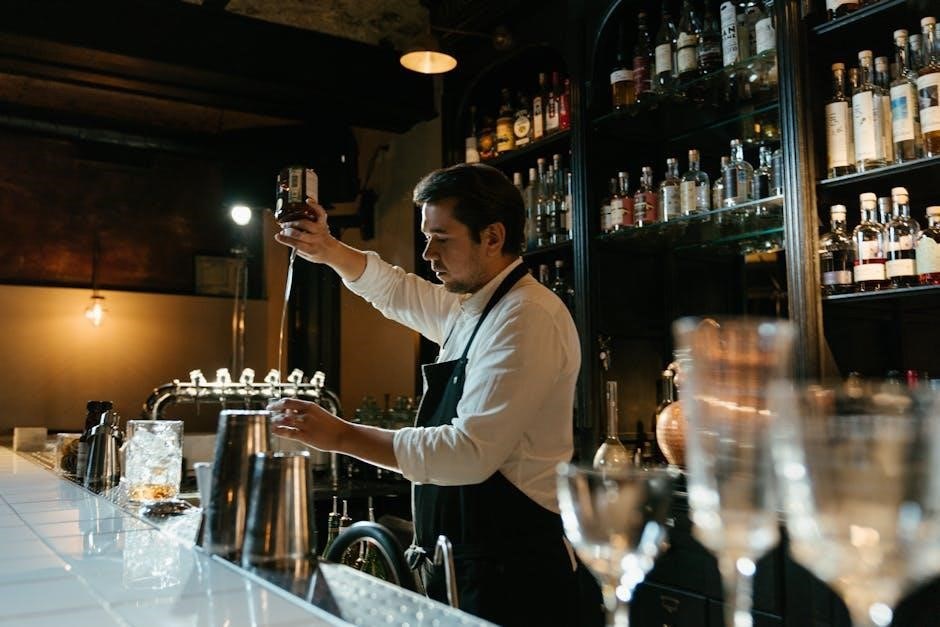
Cocktail Bars
Cocktail bars prioritize expertly crafted drinks‚ offering a sophisticated and refined experience for discerning palates․ These establishments distinguish themselves through skilled mixologists‚ premium spirits‚ and innovative recipes‚ moving beyond simple pours․
The ambiance is typically more upscale and intimate‚ with stylish décor and attentive service․ Expect a curated menu featuring both classic cocktails – Manhattans‚ Old Fashioneds‚ Margaritas – and original creations․ Presentation is key‚ often involving elaborate garnishes and glassware․
Cocktail bars are ideal for a relaxed evening‚ enjoying conversation‚ and savoring complex and flavorful beverages․ They represent a modern evolution of the traditional bar scene․
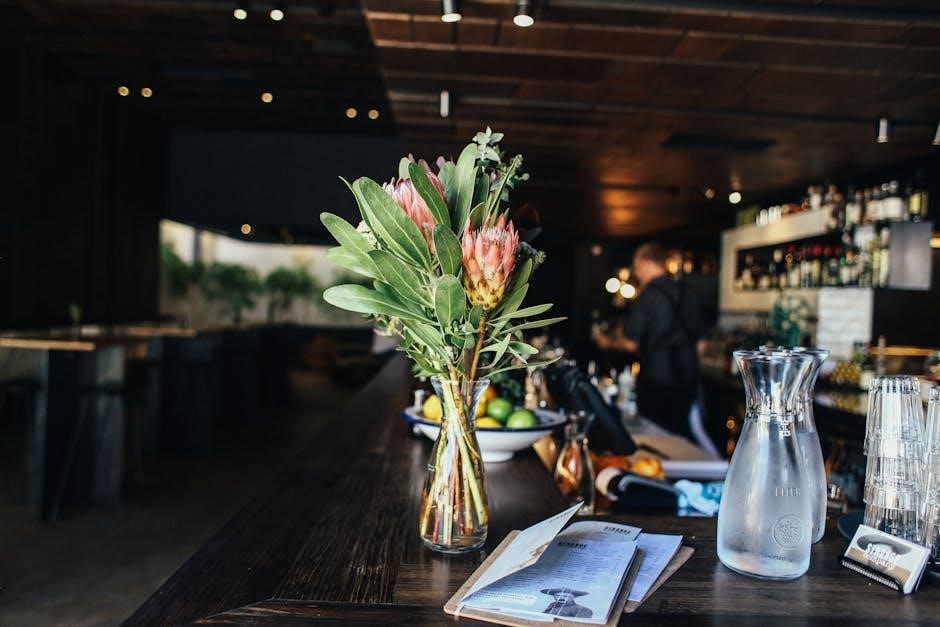
Wine Bars
Wine bars offer a relaxed and sophisticated atmosphere centered around the appreciation of wine‚ providing a diverse selection by the glass or bottle․ These establishments cater to both wine connoisseurs and those looking to explore different varietals․
Beyond wine‚ many wine bars also serve complementary small plates – cheeses‚ charcuterie‚ olives‚ and tapas – designed to enhance the tasting experience․ The ambiance is generally more subdued and conversational than a typical bar‚ fostering a social yet refined setting․
Expect knowledgeable staff who can guide you through the wine list and offer pairing suggestions․ Wine bars are perfect for a date night‚ catching up with friends‚ or a quiet evening of indulgence․
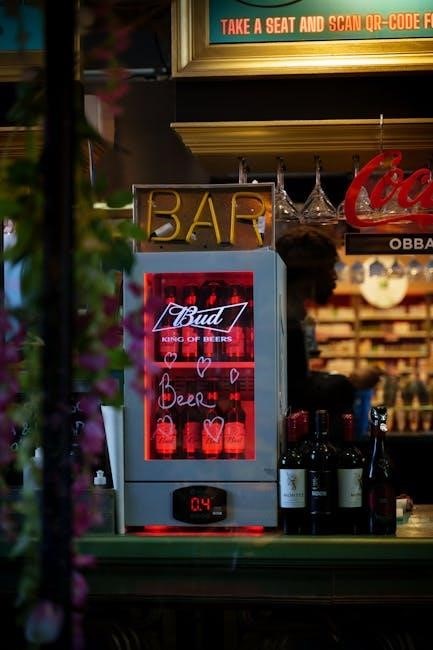
Dive Bars
Dive bars are unpretentious‚ often neighborhood establishments known for their casual atmosphere‚ low prices‚ and loyal local clientele․ Characterized by a lack of frills – think worn furniture‚ dim lighting‚ and simple décor – they offer an authentic and unpolished experience․
Don’t expect fancy cocktails or extensive wine lists; dive bars typically focus on basic drinks like beer‚ shots‚ and well liquors․ They’re places where you can relax‚ be yourself‚ and enjoy genuine interactions with regulars and bartenders․
Dive bars often host events like karaoke‚ trivia nights‚ or live music‚ adding to their unique charm․ They represent a slice of local culture and offer a refreshing alternative to more upscale venues․
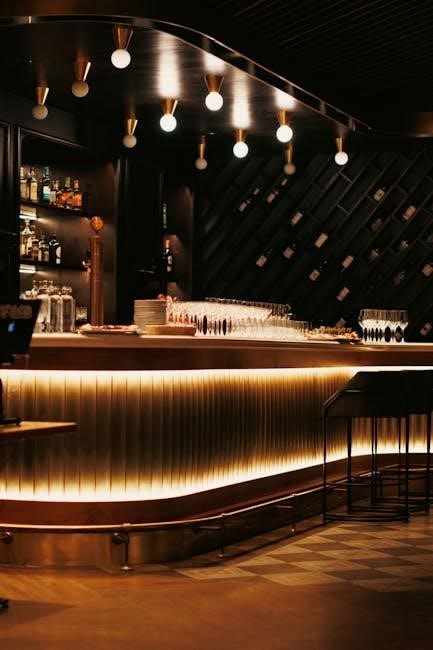
Hotel Bars
Hotel bars offer a unique blend of convenience‚ sophistication‚ and often‚ a touch of luxury․ Catering to both hotel guests and locals‚ these establishments typically boast a refined ambiance‚ comfortable seating‚ and a comprehensive drink menu․
Expect a wider selection of cocktails‚ wines‚ and spirits compared to more casual bars‚ alongside attentive service from professional bartenders․ Hotel bars frequently feature live piano music or a relaxed lounge atmosphere‚ making them ideal for a quiet evening or a pre-dinner drink․
They can be pricier than other options‚ but the quality and convenience often justify the cost․ Many hotel bars also offer light bites or full dining menus․
Essential Bar Terminology
Understanding bar lingo enhances your experience and ensures clear communication with bartenders․ “Well drinks” utilize the most affordable bottles‚ while “call drinks” specify a preferred brand․ Knowing how you want your drink served is crucial: “neat” means straight from the bottle‚ “straight up” is chilled with no ice‚ and “on the rocks” includes ice․
Behind the bar‚ the “back” refers to the area with spirits and glassware․ The “speed rack” holds frequently used liquors for quick access‚ and the “rail” displays premium options․ Familiarize yourself with these terms to navigate orders confidently․
Bartenders also use terms like “double” or “single” to indicate the amount of liquor․
Well Drinks vs․ Call Drinks
The distinction between “well drinks” and “call drinks” significantly impacts both price and quality․ “Well drinks‚” also known as house brands‚ are made with the bar’s standard‚ typically more affordable‚ liquors․ Ordering a “vodka tonic” without specifying a brand will likely result in a well vodka being used․
Conversely‚ “call drinks” involve requesting a specific brand – for example‚ a “Grey Goose vodka tonic․” This “calls” for a particular bottle‚ usually resulting in a higher price due to the premium nature of the requested spirit․ Understanding this difference allows for informed ordering and budget management․
Always clarify if unsure about the brand being used!
Neat‚ Straight Up‚ and On the Rocks
Understanding these three common requests is crucial for enjoying spirits as intended․ “Neat” means the spirit is served at room temperature‚ in a glass‚ with absolutely nothing added – no ice‚ no water‚ no mixers․ It’s the purest expression of the liquor․
“Straight up” signifies the spirit is chilled‚ typically by stirring or shaking with ice‚ then strained into a stemmed glass – no ice remains in the final drink; This offers a chilled‚ smooth experience․
Finally‚ “on the rocks” simply means the spirit is served over ice in a rocks glass․ This dilutes the drink slightly as the ice melts‚ altering the flavor profile․
Back‚ Speed Rack‚ and Rail
These terms define the bartender’s workspace and organization of liquor․ The “back” refers to the entire area behind the bar‚ encompassing storage‚ glassware‚ and often the sink․ It’s the bartender’s primary operational zone․
The “speed rack” is a tiered‚ angled shelf directly in front of the bartender‚ holding the most frequently used liquors․ This allows for quick and efficient access during busy service․ It’s all about speed and minimizing movement․
The “rail” is the front edge of the bar top‚ typically featuring well liquors – the most affordable options․ These are used in standard mixed drinks and are easily accessible for quick pours․
Popular Bar Drinks
The world of bar beverages is incredibly diverse‚ catering to every palate․ Beers range from light lagers – crisp and refreshing – to rich stouts‚ offering roasted flavors․ Ales provide a spectrum of fruitiness and hop bitterness․
Classic cocktails like Old Fashioneds‚ Martinis‚ and Manhattans remain timeless favorites‚ while modern mixes experiment with unique ingredients and techniques․ These showcase bartender creativity․
Spirits form the base of many drinks: vodka’s neutrality‚ gin’s botanical complexity‚ rum’s sweetness‚ whiskey’s depth‚ and tequila’s agave character․ Non-alcoholic options‚ including mocktails and sodas‚ ensure inclusivity for all patrons․
Beers: Lagers‚ Ales‚ and Stouts
Beer’s vast landscape is broadly categorized into lagers‚ ales‚ and stouts‚ each with distinct characteristics․ Lagers‚ typically bottom-fermented‚ are known for their crisp‚ clean flavors and often lighter body – think Pilsners and pale lagers․ They’re generally refreshing and easy-drinking․
Ales‚ top-fermented‚ exhibit a wider range of flavors‚ from fruity esters in Belgian ales to the hoppy bitterness of IPAs․ They offer more complexity and aroma․
Stouts‚ a dark ale variety‚ are brewed with roasted malts‚ resulting in coffee and chocolate notes․ From dry Irish stouts to sweet milk stouts‚ they provide a rich‚ satisfying experience․
Cocktails: Classics and Modern Mixes
The cocktail world blends tradition with innovation‚ offering a spectrum from timeless classics to cutting-edge creations․ Classic cocktails‚ like Old Fashioneds‚ Martinis‚ and Manhattans‚ showcase balanced flavors and refined techniques‚ representing the golden age of mixology․
Modern mixes push boundaries with unique ingredients‚ infusions‚ and presentation․ Bartenders experiment with flavors‚ textures‚ and molecular gastronomy to deliver novel experiences․
Understanding base spirits‚ modifiers (liqueurs‚ bitters)‚ and garnishes is key to appreciating cocktail artistry․ Whether you prefer a simple highball or a complex layered drink‚ the possibilities are endless․
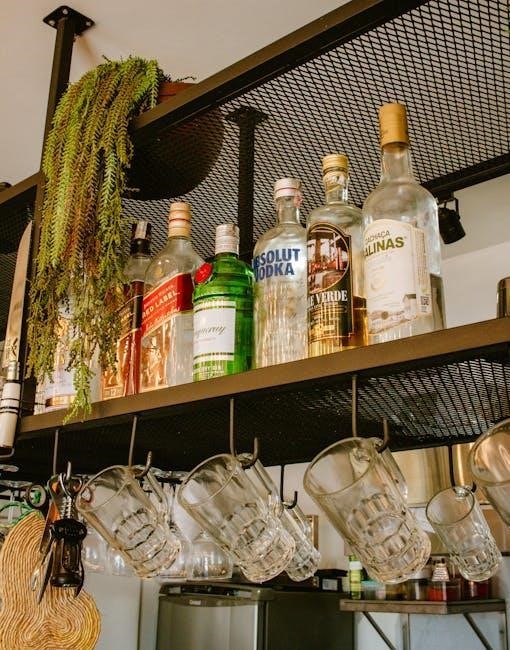
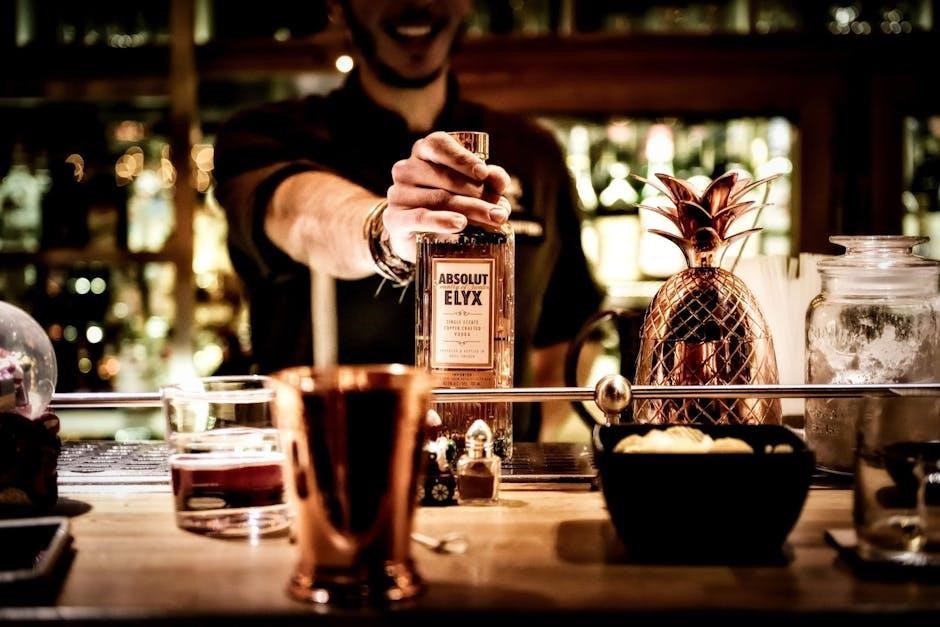
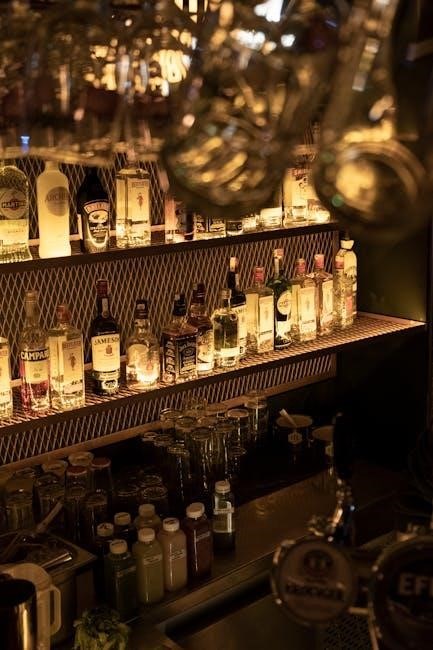
Spirits: Vodka‚ Gin‚ Rum‚ Whiskey‚ Tequila
Spirits form the foundation of countless cocktails and offer diverse flavor profiles for sipping neat․ Vodka‚ known for its neutrality‚ serves as a versatile base․ Gin‚ infused with botanicals‚ provides complex herbal notes․
Rum‚ derived from sugarcane‚ ranges from light and fruity to dark and molasses-rich․ Whiskey‚ aged in oak barrels‚ delivers smoky‚ caramel‚ and spice nuances – encompassing Scotch‚ Bourbon‚ and Rye․
Tequila‚ crafted from blue agave‚ offers earthy and citrusy characteristics․ Exploring different brands and production methods within each spirit category unlocks a world of taste․
Non-Alcoholic Options
Modern bars increasingly cater to those abstaining from alcohol‚ offering sophisticated alternatives beyond simple sodas․ Expect a growing selection of mocktails‚ skillfully crafted to mimic classic cocktails without the spirits – think virgin Mojitos or alcohol-free Margaritas․
Premium non-alcoholic beers and wines are also becoming readily available‚ providing familiar tastes for designated drivers or mindful drinkers․ Freshly squeezed juices‚ artisanal sodas‚ and flavored sparkling waters add further variety․
Don’t hesitate to ask the bartender to create a custom mocktail based on your preferences; they’re often happy to accommodate!
Bar Etiquette & Tips
Navigating bar culture involves understanding unspoken rules for a pleasant experience for everyone․ Always make eye contact and acknowledge the bartender before signaling for a drink – avoid waving money or shouting․
Tipping is customary‚ generally $1-2 per drink or 15-20% of the tab‚ rewarding good service․ Order politely‚ using “please” and “thank you․” Be mindful of your consumption; pace yourself and alternate alcoholic drinks with water․
Respect personal space‚ both at the bar and on the dance floor․ Avoid overly loud conversations and be considerate of those around you․ Most importantly‚ drink responsibly and never drink and drive․
Tipping Your Bartender
Tipping bartenders is a significant part of bar culture‚ directly impacting their income and reflecting service quality․ A standard tip generally ranges from $1 to $2 per drink‚ or 15% to 20% of the total bar tab‚ depending on the complexity of the order and the level of service provided․
For simple beer or well drink orders‚ $1 is acceptable‚ while complex cocktails warrant a higher tip․ Consider tipping more for exceptional service‚ like prompt attention or helpful recommendations․ Cash tips are preferred‚ but many bars allow adding a tip to a credit card payment․
Remember‚ bartenders often share tips with support staff‚ so your generosity benefits the entire team․
Ordering Drinks Politely
Polite and clear communication is key to a smooth bar experience for both you and the bartender․ Avoid waving frantically or shouting to get attention; making eye contact and a slight raise of the hand is more effective and respectful․
When ordering‚ state your drink clearly and concisely․ Knowing the name of your desired beverage demonstrates consideration․ If you’re unsure‚ ask for recommendations or clarification on the menu․ Avoid snapping your fingers or using demanding language․
Say “please” and “thank you” – simple courtesies go a long way․ Be patient during busy periods‚ and understand bartenders are managing multiple requests simultaneously․
Pace Yourself & Drink Responsibly
Enjoying a night out responsibly is paramount for your safety and well-being․ Alternate alcoholic beverages with water or soft drinks to stay hydrated and slow down alcohol absorption․ Eating before and during drinking significantly impacts how your body processes alcohol․
Be mindful of your drink’s strength and your personal tolerance․ It’s easy to underestimate the effects‚ especially with mixed drinks․ Never feel pressured to keep up with others; drink at your own pace․
Recognize the signs of intoxication in yourself and others‚ and know when to stop․ Plan for a safe ride home – designate a driver‚ use a ride-sharing service‚ or take public transportation․
Finding the Right Bar
Locating the perfect bar hinges on aligning your preferences with available options; Begin by leveraging online resources and apps like Yelp‚ Google Maps‚ and dedicated bar finder websites to explore nearby establishments․
Consider the location and atmosphere – do you prefer a lively downtown scene or a quieter neighborhood spot? Think about the vibe you’re seeking: energetic sports bar‚ intimate cocktail lounge‚ or relaxed pub․
Thoroughly check reviews and ratings to gauge other patrons’ experiences regarding service‚ drink quality‚ and overall ambiance․ Social media can also offer valuable insights into a bar’s current events and specials․
Using Online Resources & Apps
Digital tools are invaluable for discovering bars tailored to your tastes․ Platforms like Yelp and Google Maps provide comprehensive listings‚ including addresses‚ hours‚ menus‚ and user reviews․ Dedicated bar finder apps‚ often region-specific‚ offer curated selections and filtering options․
Social media platforms like Facebook and Instagram showcase bar events‚ promotions‚ and atmospheres through photos and videos․ Websites specializing in nightlife often feature detailed bar guides and ratings․
Utilize these resources to compare options‚ read feedback‚ and identify bars that align with your desired experience – from lively sports bars to sophisticated cocktail lounges․
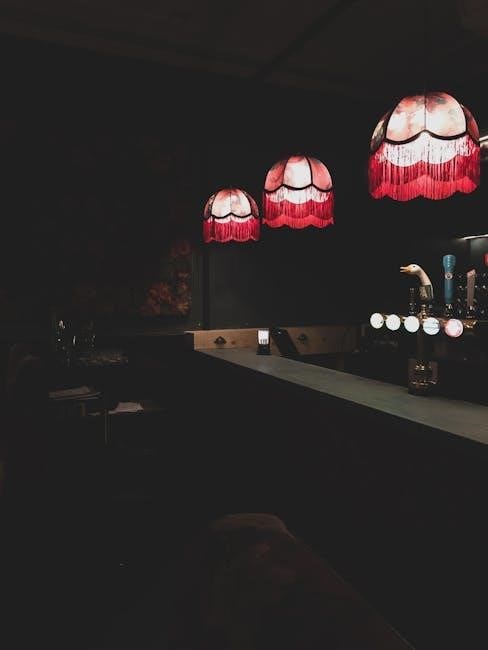
Considering Location & Atmosphere
The ideal bar experience hinges on location and ambiance․ Proximity to your current location or planned activities is a practical starting point․ Consider whether you prefer a bustling downtown scene or a quieter neighborhood spot․
Atmosphere is equally crucial․ Do you envision a lively‚ energetic environment with music and crowds‚ or a more relaxed‚ intimate setting for conversation? Think about the décor‚ lighting‚ and overall vibe․
Some bars specialize in specific atmospheres – sports bars for game days‚ cocktail bars for sophisticated evenings‚ or pubs for a traditional feel․ Align your choice with your mood and preferences․
Checking Reviews & Ratings
Before venturing to a new bar‚ leverage the power of online reviews and ratings․ Platforms like Yelp‚ Google Reviews‚ and TripAdvisor offer valuable insights from fellow patrons․
Pay attention to recurring themes in the reviews․ Are people consistently praising the drink quality‚ service‚ or atmosphere? Conversely‚ are there frequent complaints about long wait times‚ high prices‚ or cleanliness?
Consider the number of reviews – a larger sample size generally provides a more reliable picture․ Look for recent reviews to ensure the information is current․ Don’t dismiss a bar based on a single negative review‚ but heed consistent patterns of criticism․
Bar Safety & Awareness
Prioritizing safety is crucial for a positive bar experience․ Be mindful of your surroundings and trust your instincts․ Recognizing over-intoxication – in yourself and others – is paramount; offer assistance if needed‚ and don’t hesitate to seek help from bar staff․
Never leave your drink unattended‚ and always accept beverages directly from the bartender․ Protecting your drink minimizes the risk of unwanted substances being added․ Know your limits and pace yourself; alternate alcoholic drinks with water or soft drinks․
Arrange safe transportation home beforehand – designate a driver‚ utilize ride-sharing services‚ or take public transport․ Avoid walking alone‚ especially at night․
Recognizing Over-Intoxication
Identifying the signs of over-intoxication is vital for personal safety and the well-being of others․ Early indicators include slurred speech‚ impaired coordination‚ and difficulty walking․ Look for changes in behavior‚ such as increased talkativeness‚ mood swings‚ or aggression․
Physical signs may involve flushed skin‚ glassy eyes‚ and slowed reaction times․ Severe intoxication can lead to vomiting‚ confusion‚ and loss of consciousness․ If someone exhibits these symptoms‚ alert bar staff immediately․
Offer water and encourage them to eat something․ Never leave an intoxicated person alone‚ and ensure they get home safely․ Remember‚ responsible drinking is key to avoiding these situations․
Protecting Your Drink
Maintaining awareness of your surroundings and taking proactive steps are crucial for drink safety․ Never leave your drink unattended‚ even for a moment‚ as it can be easily targeted․ Accept drinks only from trusted sources – those you’ve seen being poured or directly from the bartender․
Be wary of accepting drinks from strangers or those you don’t know well․ If someone offers to buy you a drink‚ accompany them to the bar to order it yourself․ Utilize drink covers or coasters to shield your beverage․
If you suspect your drink has been tampered with‚ immediately inform bar staff and do not consume it․ Trust your instincts and prioritize your safety․
Knowing Your Limits
Responsible enjoyment hinges on understanding and respecting your personal alcohol tolerance․ Factors like body weight‚ metabolism‚ food consumption‚ and medication can significantly influence how alcohol affects you․ Start slowly‚ alternating alcoholic beverages with water or non-alcoholic drinks to stay hydrated and pace yourself․
Pay attention to your body’s signals – dizziness‚ blurred vision‚ or impaired judgment are indicators to slow down or stop drinking altogether․ Never feel pressured to keep up with others; prioritize your well-being․
Plan ahead for safe transportation‚ whether it’s a designated driver‚ taxi‚ or rideshare service․ Prioritize safety above all else․